
Terrible Lizards Stuffed Animals Guide: All Four Locations
Where to find all four Terrible Lizards stuffed animals and their pedestals, plus how the carry-and-die rule works and the safest route for each chapter.
The four stuffed animals are the only collectibles in Terrible Lizards that can be lost. Each chapter has one plush toy and one pedestal, and you have to carry the toy to the pedestal without dying. A death resets the carry, which means the toy returns to its original spot.
The rule is simple, but it changes how you play. A chapter you know well is a good place to do the carry. A chapter where you are still learning the route is not.
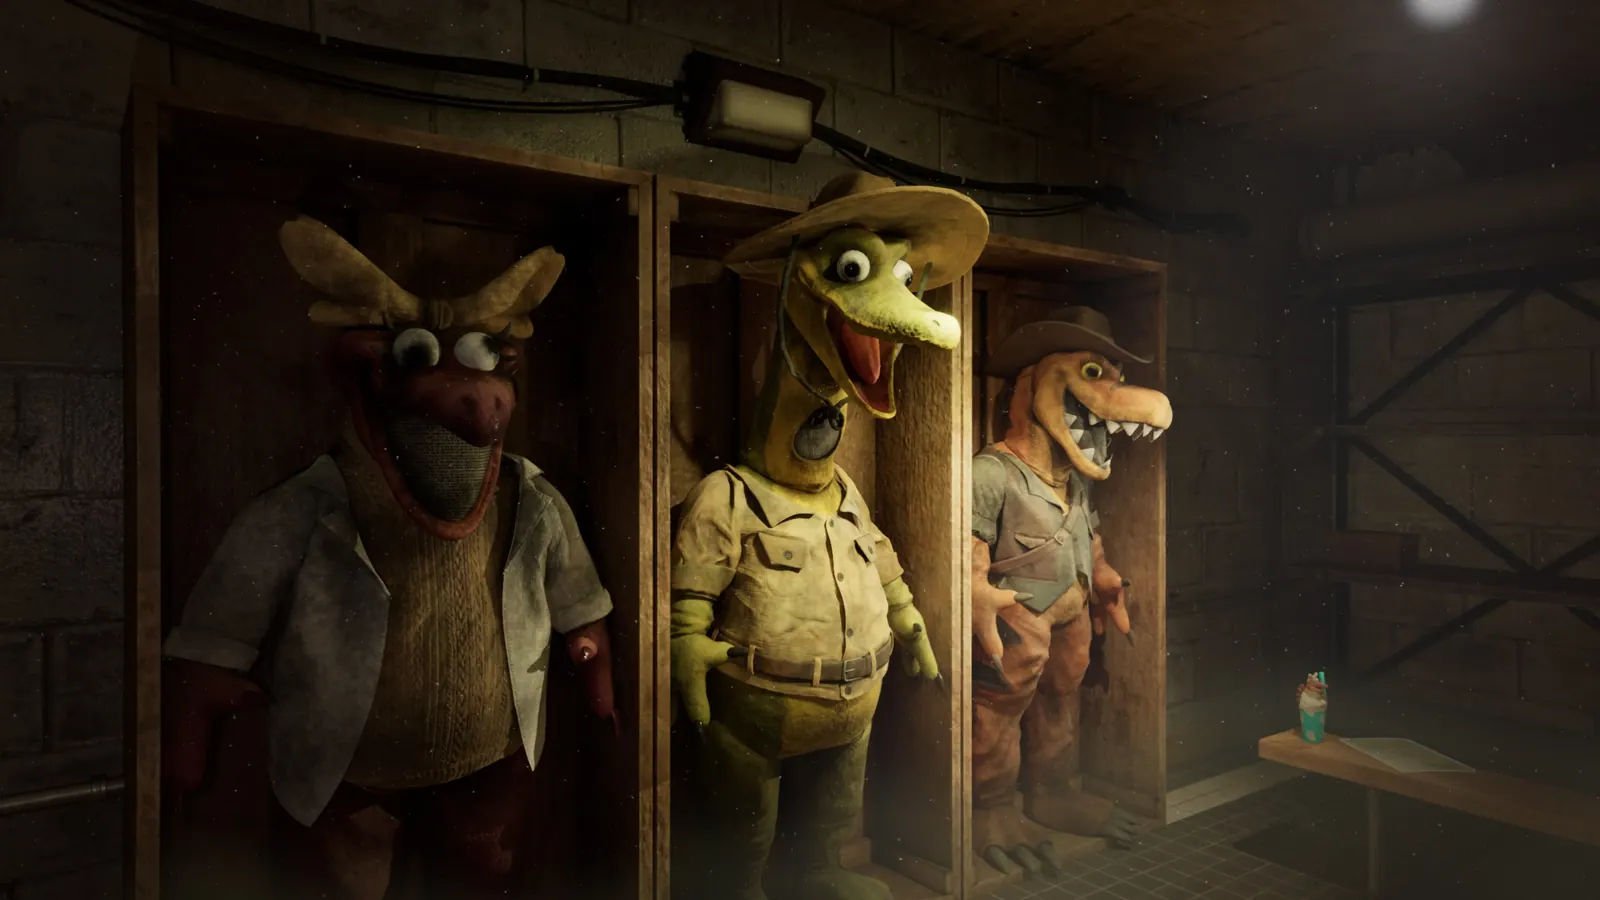
There are four stuffed animals, one per chapter. Carry one at a time to its matching pedestal without dying. The pedestals are near the end of each chapter. If you die, the animal resets to its original location, but you can try again. Placing all four unlocks You Go Here.
How the stuffed animal rule works
- You can carry one stuffed animal at a time.
- The animal occupies a visible slot on Jordan; you do not need to open a menu.
- Dying resets the carry. The animal returns to its original spot.
- The pedestal is chapter-specific. You cannot carry a Chapter 1 animal into Chapter 2.
- Placing the animal is permanent for that chapter.
- The achievement You Go Here unlocks when all four are placed.
The game does not warn you before a chase. If you are carrying an animal and a scripted chase starts, you have to finish the chase without dying. That is why the safest strategy is to pick up the animal late, after the chapter's hardest encounter.
Chapter 1: the box office tent
Location: Above the box office, on the ladder by the tent.
When to grab it: After you open the box office with 9216 and before you descend to the fuse basement. The route is short, and the chapter's only chase is the gift shop escape at the end.
The carry: Take the animal from the tent, cross the gift shop, and descend to the fuse basement. The pedestal is in the corner of the fuse basement, near the four fuses.
The risk: The gift shop escape. If you are carrying the animal and die during the chase, you have to retrieve it and cross again. If you are not confident, place the animal before the escape; the pedestal is in the basement, so you can do it before the lights go out.
Route note: The ladder above the box office is easy to miss because the box office is a small room. Look up after you enter the code.
Chapter 2: the boxes at the start
Location: On the boxes to the right at the start of the Digsites.
When to grab it: At the very beginning of the chapter, before the first generator. The animal is on the main path, so you do not need a detour.
The carry: The pedestal is past the gondola key gate, in a small cave on the right side of the large water cave. That is near the end of the chapter, after the elevator, the shaft, and the gondola.
The risk: The Brontosaurus hunts. Chapter 2 has two: the first escape after the tower, and the final arena with the four dynamites. If you die in either, the animal resets.
Route note: The safest time to pick up the animal is at the start, then play carefully until the gondola. If you die repeatedly in the arena, place the animal before the arena and accept that you will need a second run for the pedestal.
Chapter 3: the planks in the water
Location: On the planks in the flooded starting area, at the end of the wooden walkway.
When to grab it: At the start of the chapter, before the first Allosaurus encounter. The planks are on the main route, but the water is dark and the animal is easy to miss.
The carry: The pedestal is after the large metal structure, by the slope-shaped building on the left. That is near the end of the chapter, after the four-fuse panel and the Motherlode.
The risk: The Allosaurus. Chapter 3 has two hunts and a final escape. The second hunt is the longest encounter in the game, and a death there resets the carry.
Route note: Do not carry the animal during your first attempt at the fuse panel. Learn the fuse route, then replay the chapter with the animal. The pedestal is close to the final escape, so a late pickup is not possible; the animal is at the start.
Chapter 4: the ground after the opening chase
Location: On the ground after the opening chase, near the planks.
When to grab it: After the opening Hybrid chase, when you reach the first camp. The animal is on the main path.
The carry: The pedestal is past the dynamite door, on the left of the path near the crew lift camp. That is near the end of the chapter, after the special lights, Cavern A, Cavern B, and the crew lift key.
The risk: The final ascent. If you die during the two-minute climb, the animal resets. The ascent is the hardest movement sequence in the game.
Route note: The animal is at the start, so you carry it through the whole chapter. The one mercy is that the pedestal sits after the dynamite door and before the crew lift, which means you can place it before the two-minute ascent. Check the left side of the path after the dynamite door.
The safest order for all four
- Chapter 1 first. It has the shortest carry and the most forgiving chase.
- Chapter 4 second. The pedestal is before the hardest sequence, so you can place the animal before the ascent.
- Chapter 2 third. The carry is long, but the pedestals are close to the end.
- Chapter 3 last. The fuse hunt is the hardest encounter, and the animal is at the start.
This order is not required. It is simply the order that minimizes the chance of losing a carry to a death you did not expect.
What happens if you die?
The animal returns to its original spot. You do not lose the pedestal progress for other chapters. You can retrieve the animal and try again.
The game does not punish you beyond the lost time. There is no limited inventory and no penalty for carrying the animal through a chase.
Does the stuffed animal affect the story?
No. The stuffed animals are a collectible quest, not a story branch. Placing all four unlocks the You Go Here achievement and a small bonus sequence at the end of the game.
The bonus sequence is not an alternate ending. The main story has one ending. The stuffed animals add a short epilogue scene, which is worth seeing if you enjoyed the characters.
FAQ
How many stuffed animals are in Terrible Lizards? Four, one per chapter.
Can you carry more than one? No. You can carry one at a time, and the animal is chapter-specific.
Do you lose the animal if you die? Yes. The animal resets to its original location, and you have to retrieve it again.
Where is the first stuffed animal? Above the box office in Chapter 1, on the ladder by the tent.
Do you need all four for the achievement? Yes. You Go Here unlocks when all four are placed on their pedestals.
Is the stuffed animal quest missable? No. You can replay any chapter with level select.
What to read next
The collectibles guide covers the amber, tapes, notes, and statues. The achievements guide explains the full completion order. The Chapter 1 walkthrough has the first pedestal route.
For the story, read the story explained guide. For the ending, see the ending explained guide.
Sources
- Terrible Lizards on Steam — You Go Here achievement and collectible totals.
- Steam news hub for Terrible Lizards — patch notes and developer Q&A.
- Terrible Lizards official site — premise and setting.
- PlayStation Blog developer interview — world and creature design.
Official source: Terrible Lizards on Steam — release date, price, platforms, and patch notes.
More Terrible Lizards Guides
Rail and Freight Caverns route: goo launch pads, the Allosaurus stare, the freight platform puzzle, and all four fuse locations.
The Deep route: DJ's Allosaurus tooth, the special-spectrum lights, Cavern A dynamite, the Crew Lift Key, and the two-minute Dennis chase.
Every Terrible Lizards chase and hunt route, with the trigger, the escape path, and the exact spots where first runs lose the dinosaur.
All Terrible Lizards collectible totals and the confirmed amber, tape, note, statue, and stuffed animal locations, chapter by chapter.
Who Dennis is in Terrible Lizards: DJ's imaginary friend, the Paleo Pal mascot, and the creature in the lair, plus the story clues that connect them.
What happens at the end of Terrible Lizards: the crew lift escape, Dennis's fate, the black material, the bonus scene, and the sequel hook.
Terrible Lizards takes 6–10 hours for the main story, with chapter-by-chapter estimates, completionist timing, and the things that slow a first run down.
How Terrible Lizards movement works: aerial control, wall runs, slides, mantles, swings and bounces, with the timing that keeps chases from ending in a fall.