
Terrible Lizards Guide for New Players: First Hour and Controls
A spoiler-light Terrible Lizards guide for the first hour: movement basics, chapter order, collectible priorities, and the mistakes that end early runs.
Terrible Lizards does not explain itself very well. The first chapter looks like a haunted museum, the second looks like a construction site, and the third drops you into a train yard with a dinosaur that can outrun you. The game is consistent once you understand what it is: a first-person platformer where movement is the only defense.
This guide covers the first hour, the movement verbs you need before Chapter 2, and the habits that separate a clean run from a repeated checkpoint. It is spoiler-light for the story, but it assumes you have seen the first Brontosaurus chase.
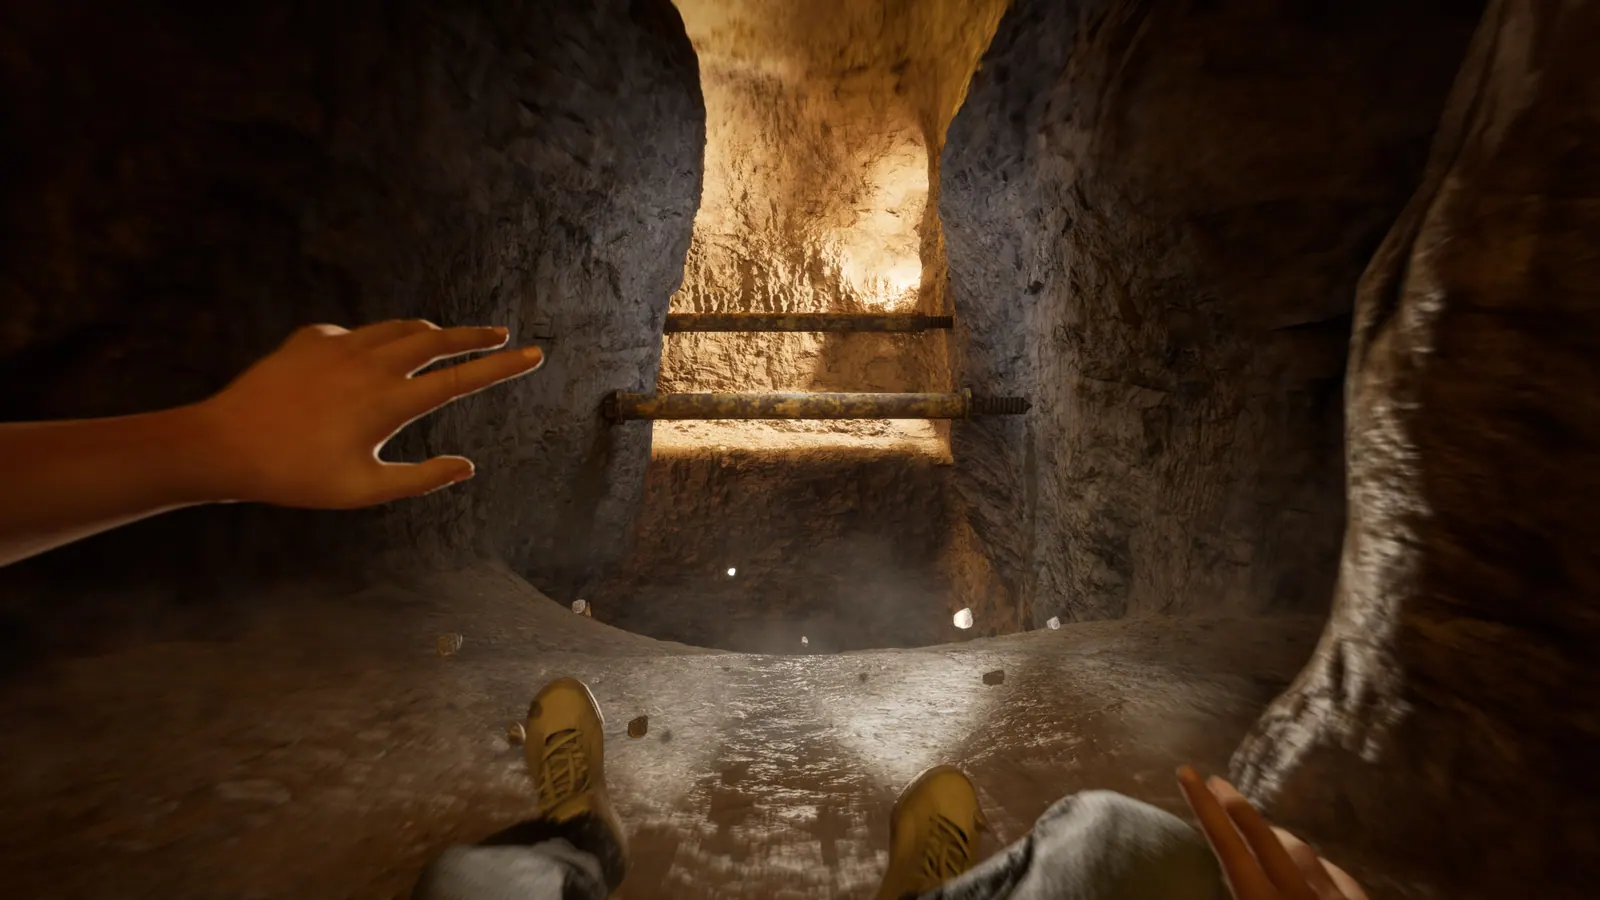
Play Chapter 1 slowly and learn the movement verbs. Prioritize the stuffed animal only if you can reach the pedestal without dying. Spend your early collectible time on amber, not notes. When a chase starts, stop exploring and follow the lit path. The game has no combat, so every encounter is solved by distance, height, or a narrow gap.
What kind of game is Terrible Lizards?
It is a first-person horror platformer with no weapons. You run, jump, slide, wall run, mantle, swing, and bounce through a dinosaur-themed roadside attraction. The creatures hunt you, but they are not bosses with health bars. The encounters end when you reach the exit, complete an objective, or put a wall between you and the animal.
The game's design director describes the movement as "low skill floor, high skill ceiling." Aerial control is deliberately strong, so you can correct a jump in midair. Mantling is generous, so a near miss does not always mean a fall. The skill comes from chaining moves without stopping, not from frame-perfect inputs.
That matters for a new player because it means you do not need to be excellent at platformers to finish the story. You need to be willing to keep moving and to read the route before you commit.
The first hour, step by step
The opening is slower than the rest of the game. Use it to learn the space.
- Start at the car. Read the note on the passenger seat. It establishes why Jordan is stranded and gives you the first piece of the mystery.
- Call the pay phone. The call to Bob's Body Shop tells you the tow is delayed. This is the game's way of closing the exit.
- Enter the lobby. Look at the Brontosaurus skeleton. The tail is a climbable route to the first amber sample.
- Find the box office code. The code is 9216. It opens the staff door behind the counter and starts the chapter's main loop.
- Restore the projector. The projector needs a coin, and the coin is in the arcade. The pre-show is worth watching once; it sets up the park's history.
- Explore the gift shop and the back rooms. The gift shop has tapes, notes, and the entrance to the fuse basement. The mascot suit room is behind the No Entry door to the left of the projector room.
- Collect four fuses and restore the lights. The fuse basement is also where the first stuffed animal pedestal sits. If you are carrying the toy, place it before you leave.
- Escape to the caverns. The first Brontosaurus chase is a scripted run. Do not stop to look back.
If you follow that order, you will enter Chapter 2 with the first amber, several notes, and a working understanding of the movement. You will also have seen the game's first real scare, which teaches you that the mascots are not static props.
The movement verbs that matter
The game introduces verbs one at a time, but it does not always name them. These are the ones that matter in the first two chapters.
Run, sprint, and jump
Sprint is the fast state, and the game is built around holding it. Jumping has strong aerial control: you can steer left and right after takeoff, and you can pull back if you overshoot. The jump is not floaty in the sense of slow; it is floaty in the sense of adjustable. Use that adjustment to land on narrow ledges instead of trying to line up the jump perfectly before takeoff.
Slide
The slide is a low-profile move that lets you pass under obstacles and keep momentum. It is also the fastest way through a narrow gap when a dinosaur is behind you. The slide has a recovery period; do not spam it in open space. Use it to enter a gap, then stand up and run.
Mantle and ledge grab
When you jump toward a ledge that is slightly too high, Jordan will grab it and pull up. The mantle is generous, but it is not automatic from every angle. Aim for the lip of the ledge, not the wall below it. If you are falling and see a ledge, steer toward it; the grab can save a bad jump.
Wall run
Wall running is introduced properly in Chapter 3, but the underlying idea appears earlier: yellow paint marks a runnable surface. Jump toward the wall at an angle, then run along it. The common mistake is jumping off the wall too early or too late. Look for the next platform before you start the run, and leave the wall when that platform is in front of you.
Swing
Swings appear as horizontal bars, crane hooks, and hanging platforms. Grab the bar at the low point of its arc and release at the top. If you release early, you lose distance; if you release late, you may overshoot the landing. The timing is forgiving, but the direction is not. Steer in the air after release.
Bounce
The yellow goo is a trampoline. Jump onto it, and you will launch higher than a normal jump. Some goo patches only appear after you press a button. In those rooms, find the button, watch where the goo appears, and plan the route before you press it.
Should you collect everything on the first run?
No. The collectibles are separated into categories, and some are much more valuable than others.
- Amber Samples are the most useful. They unlock New Game Plus modifiers in groups of four, and they are usually on the main route or a short detour.
- Audio Tapes add story context. They are worth grabbing if they are in the room you are already exploring.
- Notes are the largest category and the easiest to over-invest in. There are 97 of them, and many are in side rooms that cost time. Grab the ones on your route and save the rest for a replay.
- Stuffed Animals are the only collectible with a failure state. You can carry one per chapter, and dying resets it. If you are dying a lot in a chapter, skip the animal and come back when you know the route.
- Paleo Pal statues are one-time interactions. If you see a mascot with a talk box, interact with it. The achievement tracks the set.
The game tracks everything per chapter, and level select lets you replay. Nothing is permanently missable, so there is no reason to ruin a first run for a note in a dark corner.
The mistakes that end early runs
- Stopping during a chase. The dinosaurs are designed to close distance. If you stop to read a note or check a side room, you will lose the run.
- Fighting the camera. The game wants you to look at the next landing, not at the dinosaur. In a chase, the creature is behind you; the route is in front.
- Jumping from a standstill. Momentum matters. A running jump covers more distance than a standing jump, and the game rarely gives you enough room to build speed after a stop.
- Ignoring the yellow paint. Yellow marks runnable walls, climbable ledges, and interactive surfaces. It is the game's most reliable signpost.
- Treating the Free To Play tag as real. The Steam page has a contradictory genre tag. The game is paid, and it is also on Game Pass. Do not wait for a free version that does not exist.
- Skipping the pre-show. The projector scene is not just flavor. It explains the park's founding, the fossil, and the reason the dinosaurs are down there.
Difficulty settings and accessibility
Terrible Lizards does not have a traditional difficulty selector. The challenge comes from the encounters and the platforming, not from a damage slider. The game does have subtitles in eight languages, full controller support, and generous checkpoints.
If you are struggling with the platforming, slow down. The game rewards reading the route more than it rewards speed. If you are struggling with a chase, look for the yellow lights and the narrow gaps; those are the intended escape routes.
FAQ
Do I need to play the chapters in order? Yes, for the story. Level select unlocks after you finish, and it lets you replay chapters for collectibles.
Can I kill the dinosaurs? No. There is no combat system. The encounters end when you escape or complete an objective.
How long is the first chapter? About 60 to 90 minutes on a first run, depending on how much you explore.
Should I play on controller or keyboard? Either works. The game has full controller support, and the movement is designed around analog steering. Use whichever you are comfortable with.
Is the game scary? It is a horror platformer, but the horror is closer to Jurassic Park than to a psychological horror game. The tension comes from chases, dark spaces, and mascot suits.
Does Terrible Lizards have a demo? A demo existed before launch. The full game is the best way to learn the movement, and the opening chapter is effectively the tutorial.
What to read next
The full walkthrough covers all four chapters in order. The movement guide goes deeper on wall runs, swings, and bounces. If you are stuck on a specific encounter, the bosses guide and the chase sequences guide break down each one.
For the first chapter, read the Chapter 1 walkthrough. For the story, start with the story explained guide.
Sources
- Terrible Lizards on Steam — release date, price, and supported languages.
- Xbox Wire: Movement Is Your Weapon — design director John Gelardi on aerial control and the no-combat design.
- PlayStation Blog developer interview — movement references and creature design.
- Terrible Lizards official site — premise and setting.
Official source: Terrible Lizards on Steam — release date, price, platforms, and patch notes.
More Terrible Lizards Guides
Every creature in Terrible Lizards: the Brontosaurus, Allosaurus, Dilophosaurus Hybrid, and the Paleo Pal mascots, with chapters, behavior, and survival tips.
Every major Terrible Lizards encounter, from the Brontosaurus hunts to the Allosaurus fuse chase and the final Hybrid, with the route that ends each fight.
A complete route through Dalton's Dinos: the 9216 box office keypad, the Brontosaurus tail Amber, the fuse basement, and the first stuffed animal.
The Digsites route: generator order, the 0451 tower code, the 1677 lift, the 0180 dynamite locker, and the Brontosaurus hunt.
Rail and Freight Caverns route: goo launch pads, the Allosaurus stare, the freight platform puzzle, and all four fuse locations.
The Deep route: DJ's Allosaurus tooth, the special-spectrum lights, Cavern A dynamite, the Crew Lift Key, and the two-minute Dennis chase.
Who Dennis is in Terrible Lizards: DJ's imaginary friend, the Paleo Pal mascot, and the creature in the lair, plus the story clues that connect them.
What happens at the end of Terrible Lizards: the crew lift escape, Dennis's fate, the black material, the bonus scene, and the sequel hook.