
Terrible Lizards Chapter 2 Walkthrough: The Digsites
The Digsites route: generator order, the 0451 tower code, the 1677 lift, the 0180 dynamite locker, and the Brontosaurus hunt.
Chapter 2 is where Terrible Lizards stops being a haunted museum and becomes a platformer with teeth. The Digsites are a working excavation site built into the caverns under Dalton's Dinos: generators, crane arms, flooded tunnels, a foreman's tower, and a Brontosaurus that treats the whole site as its territory.
The chapter has three gates that stop most first runs. The first is the generator order. The second is the lift code. The third is the dynamite locker. None of them are hidden, but all three sit behind a route that loops back on itself, and the game does not put a marker on the map. This walkthrough follows the route in the order that keeps the backtracking short.
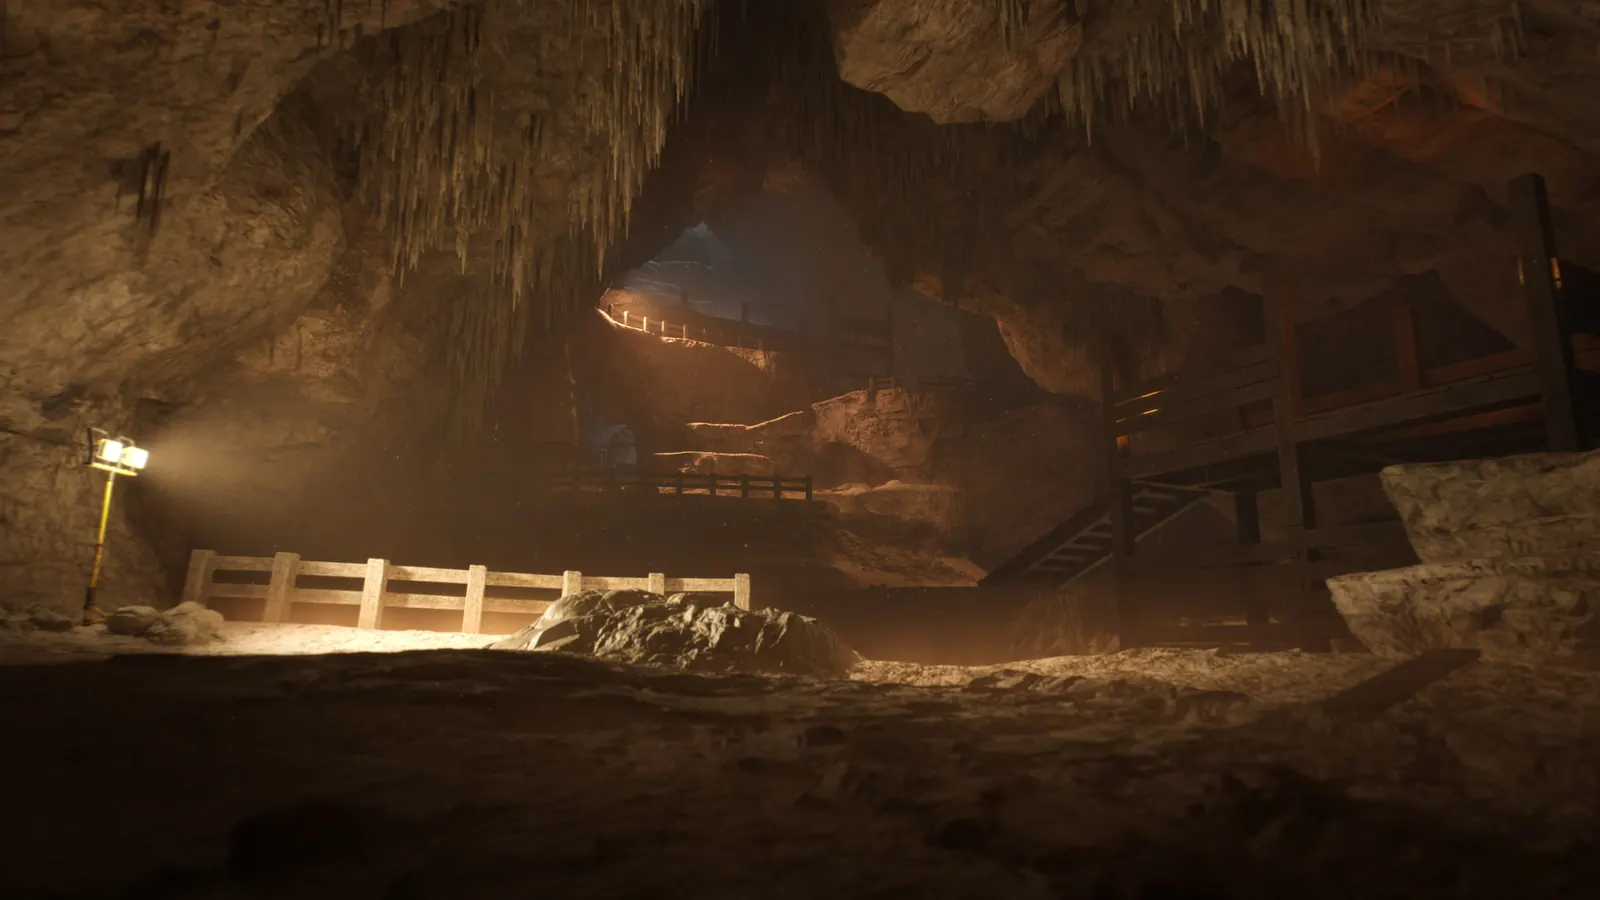
Take the stuffed animal from the boxes at the spawn. Restore both generators, enter 0451 at the foreman's tower, then use 0978 on the repaired bunker keypad. Descend the lift with 1677, recover the gondola key, open the dynamite locker with 0180, and place four charges around the Brontosaurus structure.
Chapter 2 at a glance
| Detail | What to expect |
|---|---|
| Chapter name | The Digsites |
| Main threat | Brontosaurus, first in a scripted chase and later in an arena |
| Keypad codes | 0451 (foreman's tower), 0978 (bunker gate), 1677 (lift), 0180 (dynamite locker) |
| Critical items | Two generator cores, keypad parts, gondola key, four dynamite charges |
| Stuffed animal | On the boxes to the right of the spawn |
| Chapter exit | The Brontosaurus structure at the bottom of the site |
| Estimated time | 60–90 minutes on a first run |
The chapter is generous with checkpoints but stingy with signposting. If you feel lost, the rule is almost always "look up." The crane arm, the tower ladder, and the lift shaft are all above the eye line, and the route usually continues upward before it drops back down.
Start: the stuffed animal and the comms note
You spawn on a wooden platform at the top of the Digsites. Before you move, turn right. The second stuffed animal is sitting on a stack of boxes, close enough to the spawn that it looks like scenery. Pick it up. You need to carry it to the pedestal near the gondola without dying.
Follow the slope down and read the comms relay audit note on the blue box beside the comms machine. This is also where Stella checks in. The note explains that the site's power is split between two generator rooms, and that the foreman's tower controls the lift. That is your next objective.
The office at the bottom of the slope has Dalton's February 3, 1986 journal and a note about the power-saving doors. The red button beside the door is a tutorial: press it, watch the door cycle, and learn the timing. You will use the same timing in the timed-door corridor later in the chapter.
Generators and the foreman's tower
There are two generators, and the game splits them across two very different routes. The first is a timed-door sprint. The second is a vertical platforming section built around a small service lift.
- First generator. From the base, take the left path and jump the crates. Press the button to unlock the door on the right, then run through before it closes. Follow the generator cable, hit the second auxiliary button, and parkour through the crates and gaps to reach the generator room. Start the generator, then follow the linear tunnel back to the base.
- Second generator. Head straight and slightly right from the base until you find the second cable. Crawl through the small hole, ride the service lift up, and platform across the pillars to the generator at the end. Start it, then crawl back through the same hole.
With both generators running, the foreman's tower powers on. Climb the stairs to the tower office, enter 0451, and press the red button inside. The button unlocks a gate back at the base. Before you leave the office, check the table on the far side of the button; the camera there is easy to walk past.
The tower does not open the whole route by itself. Back at the base, the unlocked gate leads into the next platforming section, which eventually drops you into the bunker corridor.
0451 is the same code used in the first BioShock. The game never points this out, but the developers have confirmed the nod in interviews. It is also the code you will see on several locked doors in the park's back offices.
Crane swing, Kick the Rock, and the first Bronto escape
The tower route eventually opens onto a crane platform. The crane arm swings over a gap that is too wide to jump. Wait for the hook to come toward you, jump onto it, and ride it to the far platform. This is the first swing in the chapter that rewards timing rather than a simple forward jump.
On the far side, take the left cave before the water-bar swing. The cave has a small pile of rocks and a sign that says "Kick the Rock." Interact with the rock for the Kick the Rock achievement. It is a one-button interaction, not a puzzle. The note in the same cave warns that adrenaline junkies were hired for the site, which is the game's way of telling you a chase is coming.
Back on the main route, use the water bar to swing across the flooded gap. Grab the bar at the low point of its arc and release at the top. If you release early, you land in the water and have to climb back to the platform. The water is not instant death, but the current pushes you toward the Brontosaurus.
The first Brontosaurus escape is a set piece, not a boss fight. The dinosaur breaks through the site, and you run along a fixed route of platforms and ledges. Do not stop to look back. Follow the path to the right, sprint through the straight sections, and keep jumping until the tunnel narrows. The chase ends when you reach the next cavern.
After the escape, you find a hanging platform that has to be lowered before you can continue. Jump and hang from its edge to pull it down, then use it to reach the next level. The lift ahead is dead. Go left and you will find a bunker door with a broken keypad.
The bunker keypad: 0978
The broken keypad is the chapter's first real fetch quest. You need parts, and the parts are on the far side of the bunker corridor.
From the broken keypad, take another left to the lower platforms. Climb the rocks and lower the platforms so you can reach the railing. Follow the railing until it breaks, then head right and climb the metal structures. At the top, drop down to the right and press the red button to unlock the gate. Follow the linear path and drop down at the end. The working keypad near the gate has the parts you need.
Pick up the parts, jump back down, and return to the bunker door. Fix the keypad and enter 0978. The gate opens.
The next section introduces balancing on narrow beams. Cross slowly; sprinting on a beam is the fastest way to fall. Stella checks in during the descent, and the Brontosaurus appears again while you crawl through a narrow passage. Stay in the crawl until it leaves, then follow the road to the right.
The route opens into a room with three sub-switches. Go right first, climb the ladder, then take the right-hand ledges to the first switch. Jump left to the second switch, then left again to the third. With all three thrown, the power returns to the next section.
That does not mean you are safe. The Brontosaurus starts hunting again, and Stella asks you to find three more kill switches. Leave the bunker and run right for the first switch at the end of the corridor. From the second switch, head left; from the third, go right. Sprint between them. When all three are down, run through the tunnel on your right and squeeze into the narrow passage at the end. The Brontosaurus cannot follow.
The lift, 1677, and the fuse box
Climb the rocks on your left after the crawl and jump to the platform ahead. The route continues through a long platforming section, then a timed auxiliary door: press the red button, run across the gap, and use the ledges on the left to reach the door before it closes.
The next climb is vertical. Keep looking up for ledges; the path is deliberately hard to read from the floor. At the top, Stella calls with the lift code 1677. Enter it at the keypad near the lift and use the ledges to descend into the shaft.
At the bottom of the shaft, the lift's fuse box is missing a fuse. The spare is on the table to the right of the box. Pick it up, place it, and the lift powers on. Use the crates on the left to jump to the platform in front, then follow the path until a platform collapses. Crawl beneath it and continue.
You eventually reach an office with another auxiliary door button. Press it, run outside, and use the ledges to reach the door before it shuts. The path beyond is linear, with more platforming and a few notes tucked into side rooms. Keep following it until you reach the padlocked gate.
Gondola key and the padlocked gate
The padlock needs a key, and the key is in the gondola. Climb the big rock in the middle of the room to find the upper ledges. Follow them across the gap and drop into the gondola car. The key is inside. Picking it up triggers a short cutscene; when the cutscene ends, pick the key up again. The game drops it back into the car, and it is easy to leave without it.
Use the ledges to climb back to the padlock, unlock the gate, and continue. The next stretch is more parkour, and near the end the Brontosaurus starts hunting again. Make a U-turn and run along the path on your right. Once you escape, Stella calls again and points you toward the safe house.
Dynamite locker 0180 and the four charges
The safe house has a keypad. Enter 0180 to open the dynamite locker. Take the dynamite, leave the locker, and turn right. Place the charge on the cracked wall, then follow the red wire to the detonator. The explosion opens the route and starts another chase.
The Brontosaurus follows you into a large structure with an outer hallway and a central machine. You need to place four dynamite charges around the structure while the dinosaur patrols. Three charges are in the outer hallway; rotate around the outside and pick them up as you go. The fourth is behind the structure, under the lights. The detonator is at the same spot as the fourth charge.
Place all four, hit the detonator, and the chapter ends with a scripted explosion. You do not need to damage the Brontosaurus. The whole sequence is a movement puzzle with a timer, and the safest route is to keep circling rather than doubling back.
Before the October 30 patch, falling boulders in the second Brontosaurus hunt could leave an invisible collider behind, blocking the route. If you are on an older build, reload the checkpoint after the boulders fall. On 1.0.9 or later, the route is clear.
Mistakes that cost first runs
- Skipping the stuffed animal at the spawn. It is the easiest one to forget, and the pedestal is at the end of the chapter.
- Doing the generators in the wrong order. Both work, but the left generator opens the shortcut to the tower, which saves a long walk.
- Missing the Amber behind the 1677 door. The door is on the left side of the lift shaft, not the main lift.
- Not grabbing the gondola key before riding. The gate will not open without it, and the gondola does not return.
- Trying to damage the Brontosaurus. There is no combat. The arena is a fuse puzzle with a patrol.
FAQ
What is the foreman's tower code in Chapter 2?
The foreman's tower keypad code is 0451. It opens the tower elevator and is a deliberate BioShock reference.
What is the lift code in Terrible Lizards Chapter 2?
Stella gives you 1677 for the lift call panel. The same code opens the maintenance door on the left side of the shaft.
How do I open the dynamite locker?
The dynamite locker code is 0180. The locker is the red cabinet beside the flooded route, after the gondola station.
Do I have to fight the Brontosaurus?
No. The Brontosaurus cannot be damaged. In the arena, activate the four fuses while using the pillars to break its charge line. The chapter ends when the central platform rises.
What to do next
The Brontosaurus arena drops you into the rail tunnels, which is where Chapter 3 begins. If the Brontosaurus fight gave you trouble, the bosses guide breaks down its charge timing, and the chase sequences guide covers the earlier platform chase in more detail. The collectibles guide has the full category breakdown if you are trying to finish the Amber and tape sets before moving on.
Official references: the Steam store page for the current build and patch notes, the official game site for the setting, and the Steam news hub for the 1.0.9 patch notes.
Official source: Terrible Lizards on Steam — release date, price, platforms, and patch notes.
More Terrible Lizards Guides
A spoiler-light Terrible Lizards guide for the first hour: movement basics, chapter order, collectible priorities, and the mistakes that end early runs.
Every major Terrible Lizards encounter, from the Brontosaurus hunts to the Allosaurus fuse chase and the final Hybrid, with the route that ends each fight.
Every Terrible Lizards chase and hunt route, with the trigger, the escape path, and the exact spots where first runs lose the dinosaur.
All Terrible Lizards collectible totals and the confirmed amber, tape, note, statue, and stuffed animal locations, chapter by chapter.
Who Dennis is in Terrible Lizards: DJ's imaginary friend, the Paleo Pal mascot, and the creature in the lair, plus the story clues that connect them.
What happens at the end of Terrible Lizards: the crew lift escape, Dennis's fate, the black material, the bonus scene, and the sequel hook.
Terrible Lizards takes 6–10 hours for the main story, with chapter-by-chapter estimates, completionist timing, and the things that slow a first run down.
How Terrible Lizards movement works: aerial control, wall runs, slides, mantles, swings and bounces, with the timing that keeps chases from ending in a fall.